Showing posts with label 2014. Show all posts

Friday, October 3, 2014

Lemon Verbena

Untitled Untitled Untitled Untitled lemon verbena dried lemon verbena lemon verbena tea 
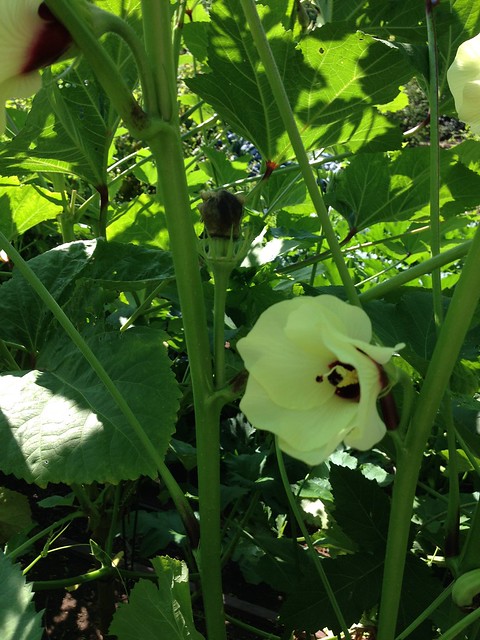
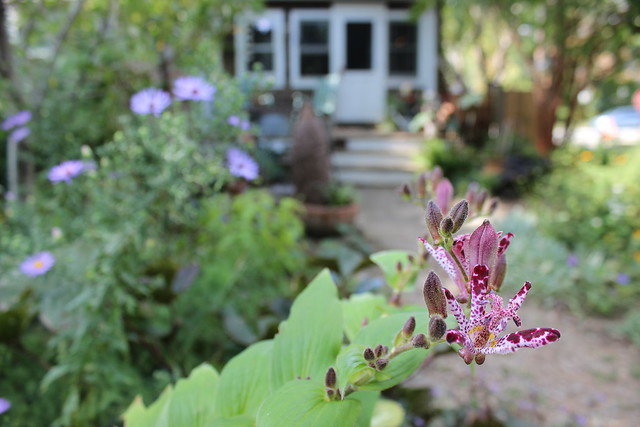
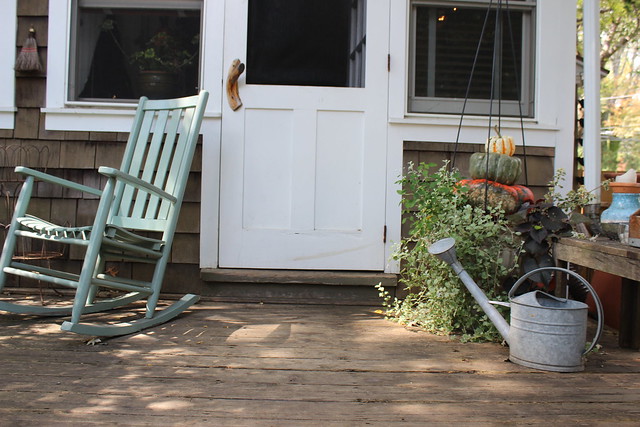
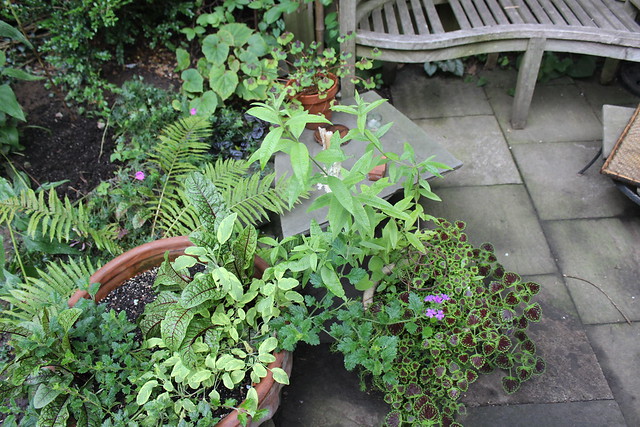
Although autumn is here in full swing, my garden is still full of life and abundance. We have yet to have our first frost, so there are still cherry tomatoes on the vine. Greens such as swiss chard and lacianto kale are growing prolifically amongst the blooming asters and toad lily and there is still quite an abundance of parsley making it's way into many a meal these days.

Another herb that is still growing strong is lemon verbena, an herb that I most recently fell in love with. I have my neighbor to thank for that who gifted me a little brown bag of homegrown lemon verbena tea for Christmas a few years ago. That spring it was the very first plant I bought at the nursery and I find that each year I buy a few more plants than I did the last. I tuck them in to as many pots and planters as possible amongst other herbs and annual flower. I love it's bright green leaves and it's spindly, trailing habit.

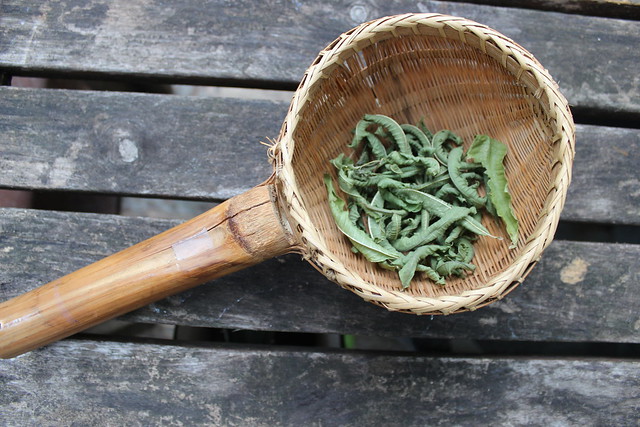
I use the leaves fresh in both iced and hot tea throughout the summer and in late summer I begin to dry the leaves to store a way for winter. A few weeks ago we were threatened with some cold night time temps. Since lemon verbena is an annual I pulled a few plants from my pots and hung them in my pantry to dry.

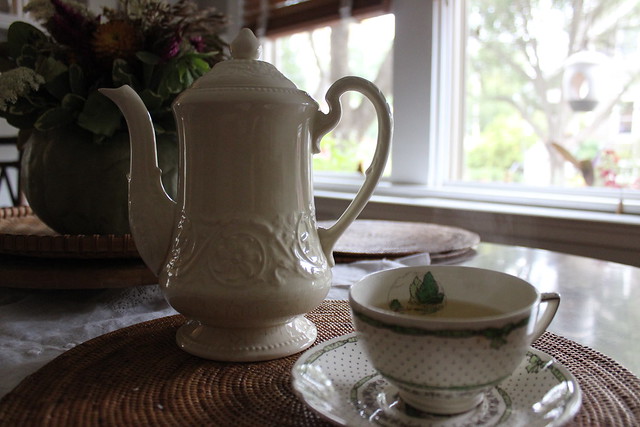
Because the leaves are a bit more dry and tough compared to mint or basil, lemon verbena dries quickly. Simply hang in a dry, cool place. In about 7-10 days strip the leaves from the stem and store in an airtight container. To make tea , simply place a handful of leaves in a teapot, cover with boiling water and let steep for 5 minutes. I like my tea with honey but it's also delicious plain both hot and cold.

Thursday, October 2, 2014

DIY - Concrete planters


 I  have a lot of succulents that needs to find new pots. Making your own planters is fun and doesn't take much time. Just need to have everything ready.
So you will need :

Plastic containers ( soft plastic )

I reuse containers, plastic cups, yogurt cups, plastic containers from the restaurant... be creative ! 
Vegetable oil ( I used canola oil ) 
Concrete, I use a mix that you can get anywhere... Of course than you can start to play and add colors, materials... 
A large bowl to mix the concrete 
A little water ( for the concrete ) 
Gloves ( latex )


Here are the plastic containers I used. You will need to find some that are soft, it makes it easier to get the planter out...


Then you fill the bottom with concrete and place the smaller container in the middle and fill in any remaining space between the two containers with more concrete. ( again make sure it's very oily )
I didn't do it but, if you want a planter with a drain I guess you can add in the bottom a piece of a cork or something with a smaller diameter that you'll remove after. ( make sure it's oiled ) 

You wait until it's dry. ( depending on the mix you are using ) 


And tada !  I made 2 of them just to make sure one of them would succeed for the picture and they both worked !


Isn't it sweet ?  It's perfect for a gift as well with a cute little plant in it.


These pansies found a new home


And my little succulent can grow until it will need a bigger pot...

Have fun making these !


Annabelle 


Thursday, September 18, 2014

End of summer

I have been away from my garden for a long time. I was happy to be back, I feel I missed a good part of the summer in the garden.

End of summer. I like this time of the year when you can feel things are changing, the garden is dying slowly. 
Let me give you a tour of what is happening here.


Harvest of the day,
 I am really happy with those round carrots. We only had a few of them as one of our chickens escaped and ate all the seeds...


Tasty tomatoes for my salads


Pansies in the planters for a little color


From my trip I brought back a hazenult tree...  


Asters are in bloom, this morning walking out in the garden I saw a bunch of bumble bees sleeping right on the flowers ! What a great bed for a bee. 

Friday, September 5, 2014

The White House Kitchen Garden

whitehouse kitchen garden whitehouse kitchen garden whitehouse kitchen garden whitehouse kitchen garden whitehouse kitchen garden whitehouse kitchen garden whitehouse kitchen garden whitehouse kitchen garden whitehouse kitchen garden whitehouse kitchen garden whitehouse kitchen garden whitehouse kitchen garden

Last week I went on a pretty exciting adventure as far as gardening is concerned.  The farming organization that I work for was chosen for a private tour of the White House kitchen garden! Although I wasn't allowed to bring my camera, I was able to snap a few shots on my iphone. We all had our fingers crossed that we would meet Michelle but she is a busy lady as you can imagine so we settled for a run in with Sunny and Bo, the Obama's dogs!

Located on the South Lawn, the garden was beautiful and extremely well kept and organically grown, full of some of the Obama's favorite fruits and vegetables. They eat lots of different salads so the garden was chock full of a variety greens and even a papaya tree (that gets over wintered inside) for one of their favorite papaya salads. When I asked what Mr. President's favorite vegetable was I was answered with "he likes everything but does not like beets." So there were none growing in the garden.

I was most intrigued with those stunningly gorgeous Chinese purple long beans which can grow up to three feet in length and peanuts which I have always wanted to try growing.

 There were many heirloom varieties growing from Jefferson's Monticello garden such as sea kale and Purple Calabash tomato. After Jefferson left the White House in 1809 and moved to Monticello, he grew 170 varieties of fruits and 330 varieties of vegetables and herbs!

The White House kitchen preserves some of the garden food pickling things like baby radishes and carrots that have been served at many prestigious State Dinners

And I was most excited to share with Melissa the first White House beehive! When White House chef, Sam Kass found out that the White House carpenter, Charlie Brandt was a beekeeper hobbyist he was quick to find out how honey could make it's way into the White House kitchen. Here's a little video on the hive. And why are there bolts and straps holding the hive down? For keeping it from blowing away from the White House helicopter which takes off and lands right there on the lawn.


Thursday, September 4, 2014

Plum and almond tarte

This is my last week in France, I am staying at my parents house. It's the season for plums and peaches here. Plums for me sound like the end of summer.
I miss my garden in Philadelphia and I can't wait t be back home.
I know many of the plants grew a lot. I can't wait to share with you what's going on in my little jungle. 

This week we did pick some plums from my aunt’s orchard.  It's a very sweet and delicious plum called "Reine Claude".

I want to share with you a simple recipe for a plum tart. 
(this is my mom's recipe )

Plum and almond tarte

For the dough ( pate brisee ):
1 2/3 cup of flour 
1/2 cup of butter 
1/2 cup iced cold water
1/2 tsp salt

Filling, frangipane :
1/2 cup of white sugar 
100 gr of almond powder ( sorry I don't know in cups )
1 egg + a yolk
1/4 cup of butter

Prepare the dough by slowly bringing the ingredients together with your hands to form a ball and let it sit for at least half an hour. Be careful to not overwork it.

Prepare the frangipane, mix the egg and yolk, add the sugar, the melted butter and almond powder. 

Wash and cut the plums in two. Put aside for now. 

Heat your oven at 350F degrees. 
Roll the dough in a pie pan and cook for 5 minutes.

Take the dough out of the oven and pour the frangipane into the tart. 
Smooth over the surface with a spatula and cover the frangipane evenly with the plums.

Sparkle some sugar on top of the tart

Bake for 30-40 minutes or until the pastry is crisp and golden-brown and the fruit is tender.
Serve warm with whipped cream or creme fraiche.


Enjoy !


Thursday, August 21, 2014

Wild flowers

Growing up in a sort of rural area in France, I would always run around in the fields and make wild flower bouquets.
I learned to recognize the flower's characteristics without really knowing their real names. Later I learned their names and properties.


We are spending a week on a farm in Ardeche in the South of France on the top of a mountain.  I have the pleasure to see those plants. I am always fascinated by the mix of flowers that can grow on a little patch in between fields.


We have forgotten that a lot of these plants are edible. Today I went on a walk and I brought some fresh flowers and greens to add to our salad for diner.

I picked some dandelions. I chose only the small leaves it does taste less bitter. Also some wild chicory flowers, nasturtium flowers and leaves, some red clover, and some red poppy seeds. You can find all of these in the united states.


Coming back from my walk I had a bag full of fresh greens and it made such a pretty salad.
If you have doubts about which flowers or plants are edible here is a link I found that could help you.


I also started to expand my knowledge of wild flowers by drying some and make an herbarium. I put the plants between two sheets of paper in a book and press them under something heavy. Well this time I used a wooden box of bottles of wine.


Thursday, August 7, 2014

Fresh fig salad

We are in France for the month and I am away from my garden. At the market in Paris I love to get fruits and vegetables of all kinds. This week they already had some fresh figs and I couldn't resist to get some. 
In Philadelphia we have figs a lot later in the season. Our neighbor had a huge fig tree, it died in the winter because of the cold. Last summer was the first time the tree produced fruits in large quantity a few branches were over our chicken coop and our neighbor let us have some. They were delicious. 

I love to eat them fresh so here is a salad recipe that you will love.

You need :
-Fresh figs
-Arugula 
-Fresh mozzarella ( di bufala if you can find it! )


Slice the figs and the mozzarella and prepare your plate with a bedding of arugula.
Prepare a simple dressing olive oil and salt.  ( you could also prepare a dressing more elaborated with honey and balsamic vinegar but for today I wanted it simple )
Serve.


Enjoy !

Thursday, July 31, 2014

Concord grape jelly

It's time for canning!
We have been trying to preserve as much as we can as the season is flying by. 
We made some pesto, canned tomatoes, froze some eggplants and for the second year I have been making grape jelly with our Concord grapes. It is pretty simple but it takes a little time and we have so many grapes. I followed this recipe. I had 20 cups of grape juice, I had to cook them in 2 separate pots...
The first batch ended up to be a little too liquidy. The second batch was just perfect !
I just recommend to try it first with a small batch of  grapes to see how it goes, have the experience, test the amount of sugar and pectin.