Pages

Friday, May 30, 2014

Props in the Garden

IMG_3244 IMG_3090 IMG_3091 IMG_3095 IMG_3097 IMG_3104 IMG_3105 IMG_3108 IMG_3236 IMG_3245

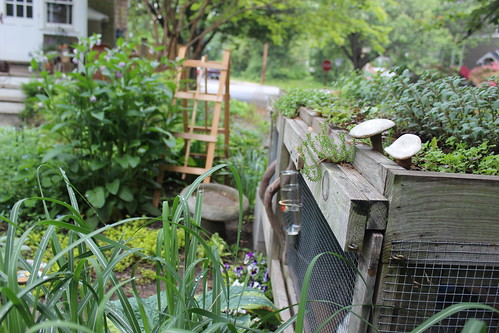
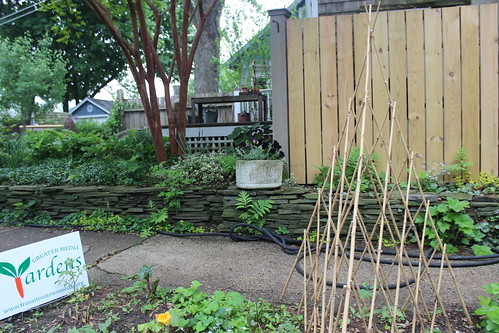
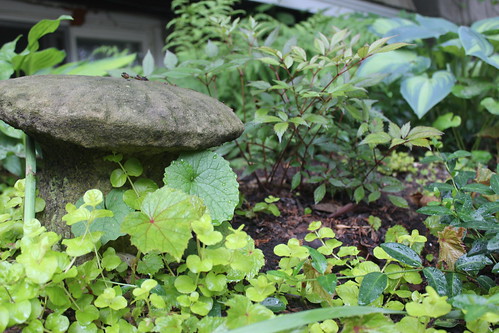
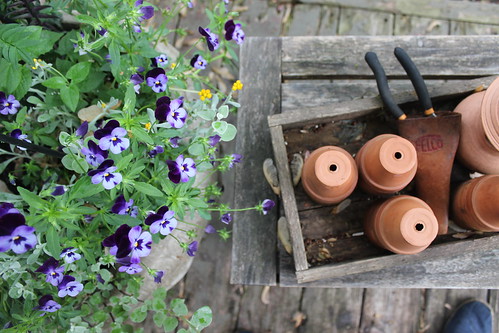
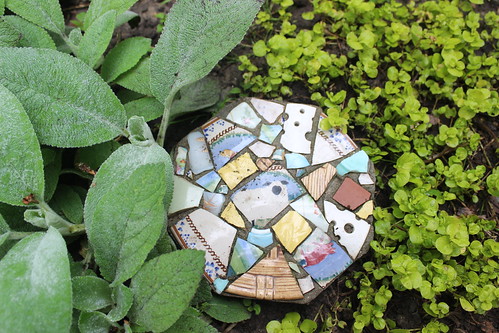
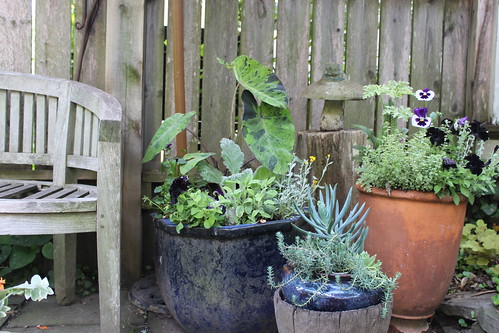
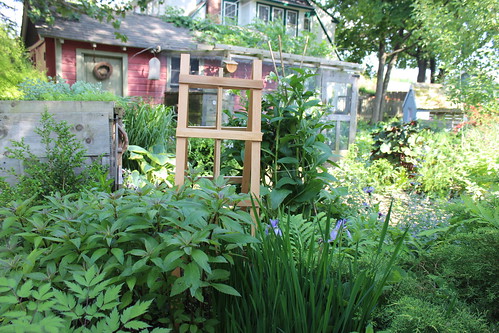
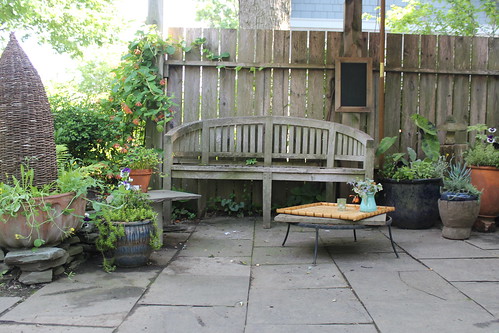
Mother nature creates some of the most beautiful vignettes in the garden. In the wild, little scenes  can happen all on their own but sometimes it's fun to assist when it's in your own backyard. Although a garden is usually composed primarily of plants, adding "props" to your landscape can add character, height, structure, texture and originality.

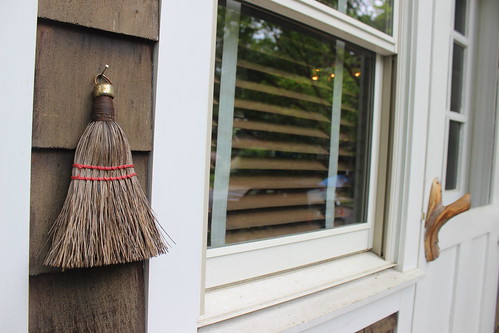
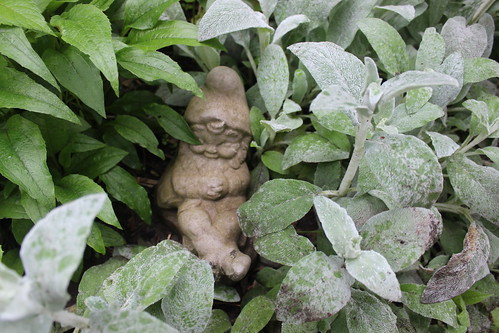
Over the years I have accumulated all sorts of props. Pots, statues, baskets,  birdhouses, trellises, tree stumps, branches, tools, bamboo, stone and wood have all played a part in my garden's tale.

Many things I have acquired from the woods. Some I have bought or made. Some were gifted and some found on the side of the road in the trash.

As the garden grows and it's scene changes throughout the season, I like to help it's storyline along by moving things around here or there. Just like my home, my garden is forever in flux. I am always re-arranging.

So I urge you to play director in your garden. Walk through and listen to it's story.  Add a few props and give it a costume change now and again.  And most importantly sit back and enjoy the show!

Thursday, May 29, 2014

Preserving grape leaves


I wanted to start to say how much it feels good that we have planted most of the plants we wanted to grow this year.  Dan installed his hammock and is ready to enjoy it.


Here is the little bouquet I made this week.


Now I want to share with you how to preserve grape leaves.
At the end of spring or beginning of summer it’s time to prune the grapes and perfect timing to preserve the leaves.
You then we’ll be able to make stuffed grape leaves.


You need to get yourself a lot of leaves, I always try to count and then get lost in the count anyway…

I like to prepare everything I need before cooking or doing anything so here is what you’ll need.

-       grapes leaves
-       sea salt
-       lemons
-       sterilized wide mouth quart jars + the seal  
-       cotton string for cooking
-       boiling water
-       iced water
-       a canner 

So now that you have everything ready on your counter let’s get started.


First give those leaves a good bath to get rid of the dirt, bugs… To be sure it is clean- do it twice.


Remove all stems.

Prepare a pot with boiling water to blanche your leaves and another pot of boiling water to fill the jars later. You have now 2 pots of boiling water on your stove.

Stack the leaves by 12 arrange them by size the biggest first then roll them and attached them with the string.


Then put your leaves into the boiling water for 1 minute, time for them to be blanched.


Remove them and let them cool into iced water.

Take them out of the iced water ( try to get most of the water out )and place them into your sterilized jars ( depending on the size of your leaves you might have to fold them )

Sprinkle a good amount of sea salt on your leaves, here you can choose to put more or less salt depending on your taste. If you add too much salt you might have to wash your leaves once you will want to prepare them.

Add the juice of a lemon per jar then cover with the boiling water you prepared before. Make sure the leaves are covered with water leave at least ½ “ headspace. Add the  sterilized lid, the ring and seal it.

Process in your canner for 20 minutes. ( 20 minutes with boiling water )


Take the jars out of the canner, check if it’s properly sealed and you can store them away and use them when you want it !
You can store them up to a year.


Wednesday, May 28, 2014

garden happenings


welcome to the garden on this misty, gray day. oh, how things have been growing after a very rainy week. we are in transition from spring crops to summer so i thought i'd share our garden happenings! 

below is our 1,000 sq. ft. garden. i cannot wait to watch it grow in size as we add a fig tree, asparagus patch & more. 

i have always wanted a garden of zinnias so this year we made that happen. we planted about 50 zinnia plants in the front row.  we also planted sunflowers, cosmos, queen ann's lace & a wide variety of perennial flowers along the other bordering row. i hope to sell flower bouquets to our egg customers this summer! 


we have been harvesting sugar snap peas by the basket full. we planted these peas months ago. with a few hot days mixed with a handful of rainy weeks, they shot up quickly & we're finally enjoying the fruits of our labor.


our basil is finally in. we've been pruning & adding the leftovers to egg scrambles in the morning. the true taste of summer, friends! our cabbage is slowly growing... kimchi awaits! my favorite variety of kale is lacinato & it is doing very well this season. we plan to gift friends with a few bundles this week.


of course, a garden is not complete without insect pests. luke has been pinching colorado potato beetles every morning. if you see these guys, pinch them! they will quickly destroy your potatoes if you don't manage them. 


we're also dealing with our share of flea beetles. luke applied spinosad, an organic pesticide, to help control the populations. it looks to be helping. 


the green beans are doing well. i cannot wait to preserve jars full of dilly beans. this weekend we planted more cilantro, summer squash, winter squash, corn & okra. 

what is happening in your garden?

- natalie

Tuesday, May 27, 2014

early summer beekeeping

A few weeks ago, when it was still properly spring (temps are in the 90s every day now, with humidity to match- I call that summer), a neighbor asked for my help in installing a nuc  (which is a miniature bee colony with 4-5 frames filled with worker bees, a laying queen, and capped brood) into his new hive.  Installing a nuc (pronounce it "nuke") is easy business- transferring the frame from one box into another, whereas installing a package of bees involved dumping thousands of bees from a screened box into your hive, hoping both that they accept their queen, who is pretty new to them, and that they stay put.  I was glad to help.  Here's Jim, putting his frames into place, late in the evening.

We waited several weeks and did a hive inspection this weekend.  Lots of honey being put up, lots of new comb drawing going on, and lots of crazy comb building, too.
We scraped off the burr comb and extra comb they were building, top-bar style, off of the queen excluder and put it on his wall for the bees to clean up (the pieces you see here were full of uncapped honey, and the bees are  clustered around a spot where we'd dripped quite a bit of honey).  He has a pretty little hive and his bees seem happy!  In the photo below, you see the bees at their entrance and his mason-jar feeder.  They're slurping the syrup down!


This weekend I did some hive maintenance and landscaping work of my own.  My spring has been so busy that my garden is really overgrown.  The area around the hive had been mulched with pine straw when the top bar hive was in this spot, but weeds and baby coneflower volunteers (from the echinacea in the right foreground) were taking over.  I pulled the weeds (and about 100 bearded iris), dug up the baby echinaceas, laid down a thick layer of newspaper, and mulched the whole area with pea gravel so that it would be easier for me to work with.  I left a few of the baby plants around the hive, and moved a lavender to the far left borer of the pea gravel, hoping it would both be happy in this spot and feed the bees.
 Later this week I'll do another inspection of this hive and my top bar hive, but my goal this weekend was to get the area back into workable/presentable condition.  My top bar hive has a window, which is a very handy way to check on the bees without opening up the hive.  I'd noticed fewer bees lately, and this morning's check confirmed my suspicions. 
Can you see the queen cup?  The long open tube in the center honeycomb?  Well, there are about five of those closer to the hive entrance.  I believe that my hive has swarmed.  Again.  Gary saw a thundercloud of bees barreling down the driveway, over the gate, and up into the top of a neighbor's giant oak tree the beginning of May.  I knew that the split we'd done in April wasn't enough, but I'd hoped that the swarm he watched would be the end of it.  Seems not.  At this point, I'll go into the hive, check for eggs and brood, and remove a few bars to give the bees more room (and harvest some spring honey) and hope that they won't keep swarming.  In a langstroth hive you just put more supers on top of the hive to prevent swarming, but part of the charm (?) of a top bar hive is that it is good for increasing the bee population.  As I myself have witnessed.  But my mentor tells me that only a healthy hive with a growing population will swarm, so we must be doing well!
Monday, May 26, 2014

Herb Infused Vinegars

My edible garden is starting to bloom around these corners!  Several of my herbs are happy as clams and showing their pretty blossoms.  Rosemary is still holding steady, chives are showing off right now, as are some of my sage and thyme plants.  As the weeks and months progress, additional sage varieties will blossom, peppermint will start showing it's colors and lavender will soon be in full swing.


I always enjoy snipping herb blossoms and using them in salads and other recipes.  One of my favorite ways of using herbs is infusing their blossoms in oils, vinegars, sugars and salts.  Today, I wanted to share a few photos of my process of infusing herb blossoms in vinegar.


It's very easy and gives such a nice added flavor to recipes that call for vinegar.  I start with gathering my supplies and sterilizing them (not necessary, but helpful).  Snip and wash your blossoms then pack inside a jar or glass bottle.  Fill the remaining space with vinegar, cover and refrigerate.  That's it!  Stir every now and them to mix the flavors.  The longer you let them steep, the stronger the flavor will be.


It's fun to experiment with different types of herb and vinegar combinations.  In these photos I used chamomile and lavender mixed with white wine vinegar, sage mixed with rice vinegar, thyme blossoms mixed with balsamic vinegar and chive blossoms mixed with red wine vinegar.


A few weeks ago, I tasted the most delicious raspberry infused vinegar, it was heavenly.  I also had a small piece of lavender infused caramel, which I'm so excited to try making later this summer when my lavender is in full bloom.

Have fun, and enjoy!

Friday, May 23, 2014

Strawberry Rhubarb Crumble

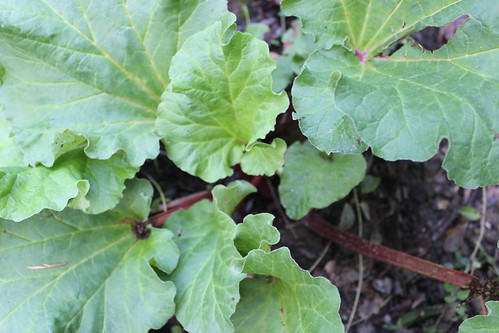
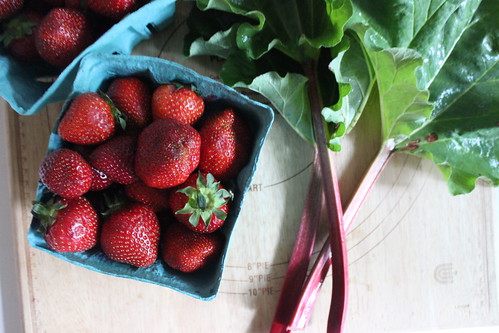
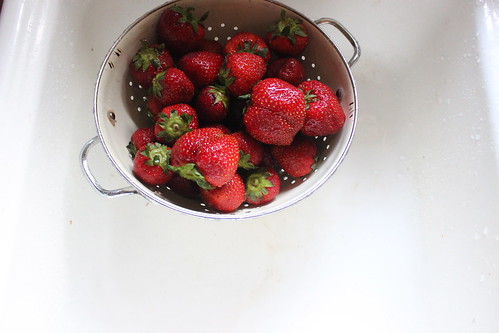
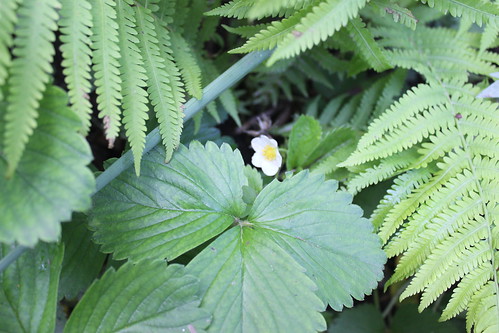
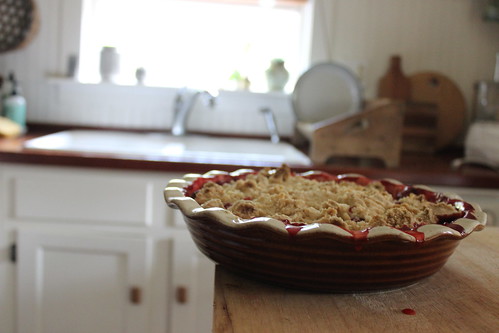
IMG_3157 IMG_3164 IMG_3165 IMG_3169 IMG_3173 We are headed to the beach for the holiday weekend which I thought called for the first strawberry rhubarb crumble of the season. Our strawberries are just flowering so no berries yet but the rhubarb is ready! I bought local berries at the farmers market yesterday and harvested our first rhubarb stalks this morning.

I have made this recipe from Smitten Kitchen many times and it is always a hit. The sweet to tart ratio is perfect topped with a short-bread crumble.

Strawberry Rhubarb Crumble

Topping
1 1/3 cup flour
1 teaspoon baking powder
3 tablespoons sugar
3 tablespoons Turbinado sugar
 Zest of one lemon
1 stick unsalted butter, melted

 Filling
1 1/2 cups rhubarb, chopped into 1-inch pieces
1 quart strawberries plus a few extras, hulled, quartered
Juice of one lemon 1/2 cup sugar
3 to 4 tablespoons cornstarch
Pinch of salt

Heat oven to 375°F.
Prepare topping: In a mixing bowl, combine flour, baking powder, sugars and lemon zest and add the melted butter. Mix until small and large clumps form. Refrigerate until needed.

Prepare filling: Toss rhubarb, strawberries, lemon juice, sugar, cornstarch and a pinch of salt in a 9-inch deep-dish pie plate.

 Remove topping from refrigerator and cover fruit thickly and evenly with topping. Place pie plate on a baking sheet (as it can bubble over), and bake until crumble topping is golden brown in places and fruit is bubbling beneath, about 40 to 50 minutes.

Thursday, May 22, 2014

Finding space to plant more greens

Yesterday Natalie was sharing how to get more greens in your diet, now I will share with you how to find more space to plant some.


We are expecting a storm, it’s 8 am and I am rushing out in the garden to take a few pictures.
Last year I was trying to find a way to produce more greens and make it easier for me to have them handy.  I decided to install planters just in front of our kitchen door on the fence. It allows us to have organic greens easily accessible, I don’t even need to bend to harvest it … A pair of scissors and we have an organic fresh salad! It’s also a way to use the fence as a planting space it gives shade in the summer hot days to these fragile little greens.
We found these planters on ebay for really cheap and it’s made of non treated cedar wood perfect to grow organic foods.
Greens do really well in planters ( even inside for those without a garden and dream of fresh greens ) When I was living in Paris I would grow on my windows mostly greens and herbs it was such a luxury.
You just get potting soil and compost, water well. I would suggest to plant some every 2 weeks to keep on having fresh greens.
You can plant them from organic seeds or get some in your local nursery. It makes it cheaper to plant from seeds and they come up really fast.
My favorites for salads are arugula, spinach, sorrel, red lettuce, mizuna.


Enjoy your greens and your day!